Check the preprocessed data
After the script generated by uber_subject.py has completed, navigate to the directory containing the preprocessed data. By default, AFNI will create a new directory tree in the following format:
cd sub-02/subject_results/group.BART/subj.sub_02/sub_02.results
In which subjects name and group name are specified in the subject ID and group ID tab from the uber_subject.py GUI we did.
Look at the Preprocessed files
You can see all the different images and files from each step of preprocessing. Especially, these files starting from “pb” (Processing Block) are preprocessed functional images and the files with “T1w” are the preprocessed anatomical images.

The files containing the “pb” are the preprocessed functional images, the files with the “T1w” string are the preprocessed anatomical images. the name “”3dTshift”” means that these images have been slice-time corrected by the “3dTshift” command.
Processed Functional Image
After check with different files in the preprocessed data directory, let’s tale a close look, type afni to open the AFNI GUI. Click the “Underlay”, and choose “pb00.sub_02.r01.tcat”, click on the
“”Graph”” next to any of the Axial, Sagittal, or Coronal views to view the time-series. You also can see the same image when you open “pb00.sub_02.r02.tcat” and “pb00.sub_02.r03.tcat”; it is because the
initial volumes of dataset had had been in OpenNeuro.
The Underlay menu has two columns: The left column is the file name, and the right contains header information about the file. “epan” indicates that it is an echo-planar image (functional image as we introduced from last chapter), whereas “abuc” stands for a anatomical image. “3D+t:300” indicates that it is a 3-dimensional with 300 volumes (time points) image


Aligned and Co-Registered image
The next file to look at is the “pb02.sub_02.r01.volreg+tlrc.BRIK”, which has 3 meanings:
1 Motion-corrected, each volume in the time-series for this run has been aligned to a reference volume.
2 Co-registered to the anatomical image, the functional image has registered into anatomical image.
3 the images also have been normalized to a standardized space, which is MNI152 template.
If you click on the pb02… images, you will notice that there is a section of the AFNI GUI that has “Original View”, “AC-PC Aligned”, and “Talairach View”. In this images, the “Talairach View” is highlighted, which indicated that these images have been normalized. you can click the different locations of the images to see the differences.

Smoothed image
The following preprocessing step is smoothing, which averages the signal of nearby voxels together in order to boost any signal that is there, and to cancel out noise. These images will look more blurry as a function of the size of the smoothing kernel that you apply to the data; in this case, a smoothing kernel of 4mm will blur the data slightly, but not by much. Look at the images to make sure that the blurring looks reasonable, as in the figure below.

Scaled image
The next step for preprocessing is scaled images, each voxel has a mean signal intensity of 100. This allows us to notice any relative changes to the mean as percent signal change such as a value of 101 could be interpreted as a signal change of 1%. these scaled images will be very blurred because the signal voxels within the brain are uniformed compared to the variability of voxel outside of the brain. However it is still visible to see the outline of the brain, and the time-series values within the brain should be close to 100 as we saw previously.

the Masks
As it looks like, the mask is for the purpose in which we need to exclude all the signals outside of our interested areas. The mask is binary: 1 represents the voxels in the brain, and 0 indicates the outside of the brain (you can have more liberal or consertive masks to cover whatever you interested in)
There are two masks that you can choose between
1 full_mask is a union of all signal intensity of the individual functional image, Voxels with very low signal intensity are not considered brain voxels.

2 mask_group is a more liberal mask that match the template that you have choosen

Anatomical Images
The next look would be the anatomical images.

We can use anat_w_skull_warped as the underlay and anat_final.sub_02 as the overlay.
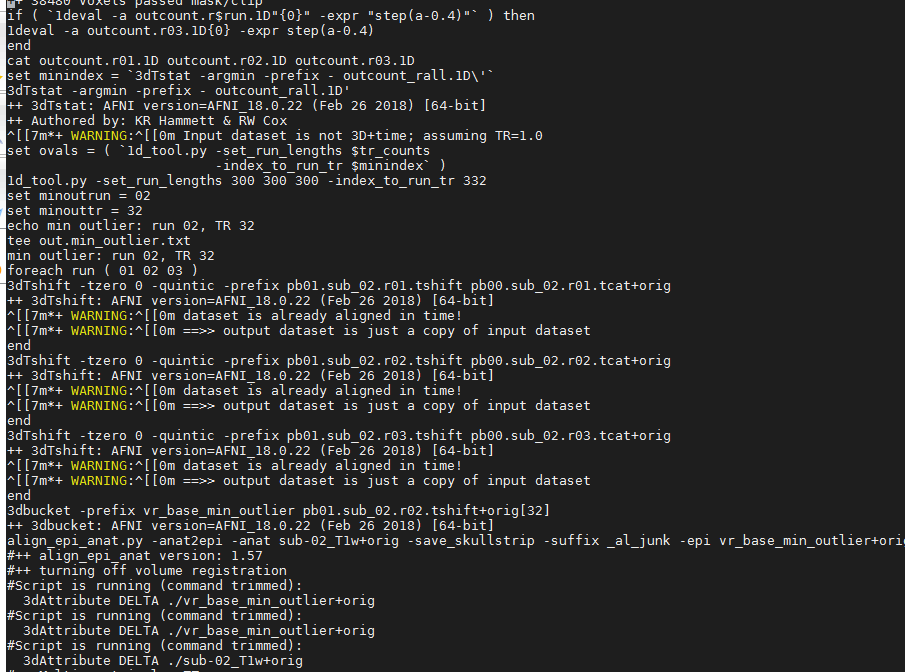
All the output log from preprocessing steps would be store in the output.proc.sub_02, which is above the current directory. AFNI will keep move on even if it encouters errors but you can ckeck it
with a text editor.